
Orchids, particularly the popular Phalaenopsis variety, are often regarded as the jewels of the indoor plant world. Their intricate blooms and elegant stems make them a favorite gift and a stunning centerpiece. However, they also possess a reputation for being temperamental. Many plant owners experience the sinking feeling of watching their beautiful orchid slowly decline, with leaves turning yellow, roots shriveling, or blooms falling prematurely. Before you discard a plant that appears to be dying, it is crucial to understand that orchids are incredibly resilient. With the right intervention and a bit of patience, a withered orchid can often be brought back to life.
Diagnosing the Problem
The first step in reviving a withered orchid is to act like a detective. You cannot treat the issue until you understand the underlying cause. While symptoms often manifest in the leaves or flowers, the root cause is almost invariably located below the surface. The most common reasons for an orchid’s decline include root rot from overwatering, severe dehydration, or improper lighting conditions.
Take a close look at the leaves. If they are wrinkled and leathery, the plant is dehydrated. This could mean you are not watering it enough, but paradoxically, it often means you have overwatered it. When roots sit in waterlogged soil, they rot and die. Dead roots cannot absorb water, leading to a dehydrated plant even if the soil is wet. If the leaves are yellowing or developing soft, mushy spots, bacterial or fungal infections may be present. Understanding these signs is the foundation of your recovery plan.
The Critical Step: Root Inspection
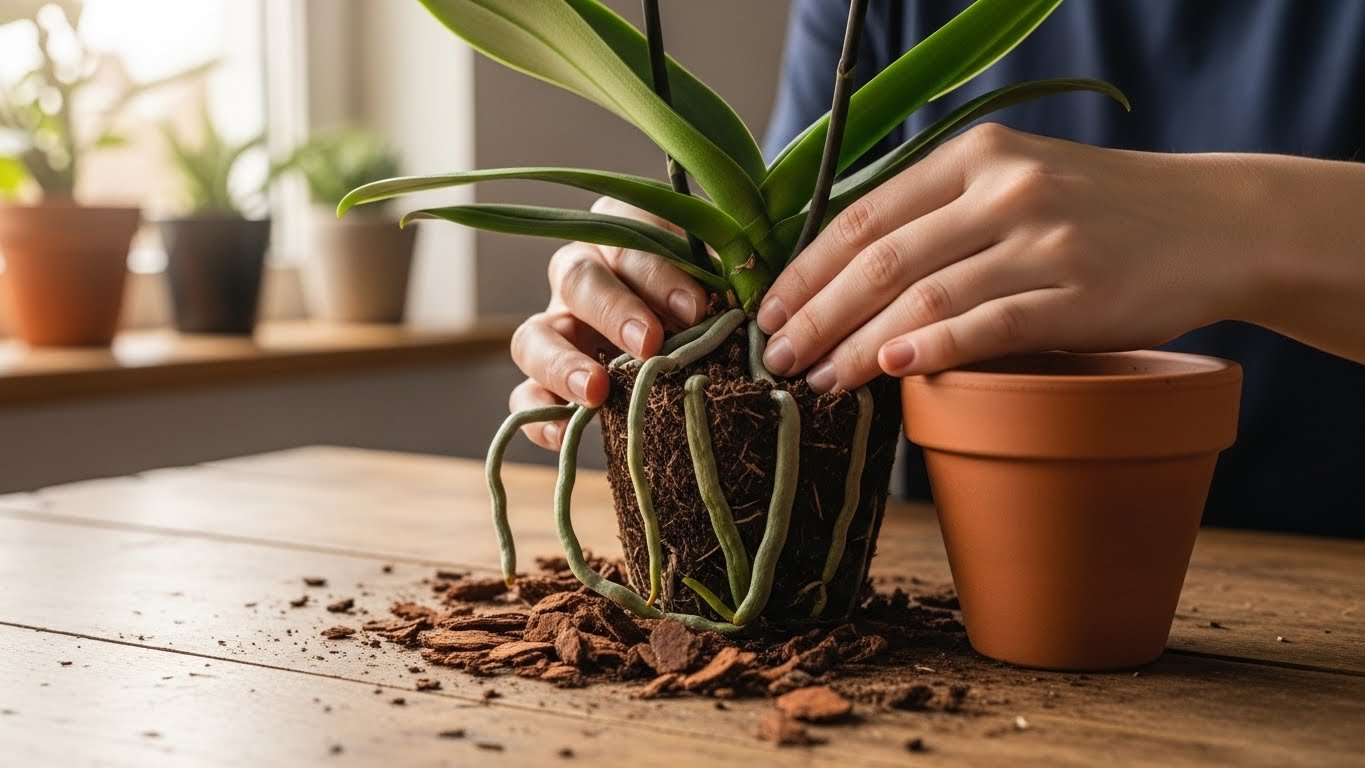
To truly save a struggling orchid, you must be brave enough to remove it from its pot. Gently squeeze the sides of the plastic nursery pot to loosen the medium and slide the plant out. Shake off all the old potting mix, as it has likely degraded and become acidic or too water-retentive.
Once the roots are exposed, examine them closely. Healthy orchid roots should be firm to the touch and typically green or silvery-grey. In contrast, dead or rotting roots will feel mushy, hollow, or papery, and they will likely be brown or black. Using a pair of sterilized scissors or pruning shears, carefully trim away all the dead and rotting material. You must be ruthless here; leave only the firm, healthy roots. If the plant has very few roots left, do not panic. Orchids can regenerate their root systems, though it will take time.
Repotting for Recovery
After cleaning up the root system, you should treat the remaining roots with a mild fungicide or a solution of hydrogen peroxide and water to kill any lingering bacteria. Once treated, it is time to repot. Never use standard potting soil for orchids. In the wild, most orchids are epiphytes, meaning they grow on trees, not in the ground. Their roots need airflow.
Select a pot that is just large enough to fit the remaining roots. A pot that is too large will hold too much moisture and lead to rot again. Use a specialized orchid potting mix, which typically consists of pine bark, charcoal, and perlite. This coarse mixture ensures excellent drainage and allows air to circulate around the roots. Position the orchid in the new pot and gently fill in the spaces with the bark mix, tapping the pot lightly to settle it without compacting the medium too tightly.
Managing Water and Humidity
Once your orchid is repotted, your watering strategy must change. If the plant has very few roots, pouring water through the pot might not be effective. Instead, focus on high humidity. A recovering orchid loses moisture through its leaves faster than it can take it up through damaged roots.
You can create a humidity tent by placing a clear plastic bag over the plant, ensuring the leaves do not touch the plastic to prevent rotting. This creates a greenhouse effect, keeping the humidity high and reducing stress on the plant. If you are not using a tent, place the pot on a tray filled with pebbles and water, ensuring the pot sits on the pebbles and not in the water. This increases ambient humidity. When you do water, use the soak-and-drain method: place the pot in a bowl of tepid water for ten to fifteen minutes, then let it drain completely before putting it back in its decorative planter.
Lighting and Temperature Control
A recovering orchid is in a fragile state and cannot handle the stress of direct sunlight or extreme temperatures. While healthy orchids enjoy bright, indirect light, a sick plant should be placed in a slightly shadier spot initially to reduce transpiration. An east-facing window with a sheer curtain is often ideal. Avoid south-facing windows with direct midday sun, as this can scorch the already stressed leaves.
Temperature consistency is also vital. Keep the plant away from drafts, air conditioning vents, or radiators. Orchids generally prefer temperatures between 65 and 80 degrees Fahrenheit. Stability allows the plant to focus its energy on root regeneration rather than adapting to fluctuating environments.
Patience: The Most Important Ingredient
Reviving a withered orchid is not an overnight process. It is a slow, biological recovery that requires patience. It may take several weeks or even months before you see a new leaf or a new root tip emerging. Do not attempt to fertilize the plant during this recovery phase. Fertilizers contain salts that can burn tender new roots. Wait until you see active growth—a new shiny green leaf or green root tips—before introducing a weak fertilizer solution.
Watching an orchid come back from the brink of death is incredibly rewarding. By understanding the plant’s natural epiphytic needs and correcting the environment, you transform from a passive plant owner to an active cultivator. With clean roots, fresh media, and controlled humidity, your withered orchid has a fighting chance to bloom again, serving as a testament to your care and dedication.
💬 Yorumlar
Henüz yorum yapılmamış. İlk yorumu siz yazın.